Category Archives: Healthy Life

What Is Life Without Bread?

Here’s my promised article on commercial low-carb breads.

“Bread is the staff of life.” – Jonathan Swift

For most of my life, I’ve heard that bread is a necessity—an essential companion to every meal and a symbol of comfort. While I don’t have hard research on how biologically vital it is, I do know this: I love its taste. There’s just something irresistible about the smell of bread baking, the crunch of a good crust, or the soft, pillowy interior of a fresh loaf. The variety alone is staggering. Almost anything can be baked into bread. My roommate once made medieval-style bread using dried peas—it was nearly brick-like in density but paired beautifully with stew. (I joked that if we ever ran out of building supplies, we could construct a small fortress out of it. Bonus: it’s edible in case of siege!)

These days, bread options are as plentiful as stars in the sky. But for those of us trying to keep carbs in check, this bakery bounty can feel more like cruel temptation than delight.

When Bread Breaks Your Carb Bank

Before the low-carb boom of a few years ago, bread-lovers on a Keto or low-carb diet were left clinging to hope and a bag of almond flour. My pantry overflowed with various low carb flour, add-ins, and even powdered egg whites! I experimented with everything from psyllium husk to guar gum, trying to mimic the structure and flavor of bread. The problem? All those low-carb flour blends were missing one crucial component—gluten. That magic protein gives bread its chewy texture, rise, and soul. Without it, you end up with something more closely resembling sponge cake’s flat cousin.

Beer bread image
Look at the lovely beer bread I made. It’s kind of short and has a lumpy top. Not the greatest, but it tasted all right.

Then, in a twist worthy of a culinary miracle, researchers figured out how to create low-carb gluten. Back into the mixing bowl it went, and suddenly bread started acting like… well, bread again.

Low carb homemade loaf of bread
Look at this beauty once I added gluten and an assortment of other ingredients to get this fabulous-looking loaf.

Despite this progress, my early bread-making attempts were hit-or-miss. Some loaves came out great; others, not so much. Then came the Keto explosion, and commercial bread makers took notice. Today, dozens of brands are making low-carb breads. Not all are winners (I’ve bravely sampled more cardboard-textured slices than I care to count), but some are truly excellent.

So here it is—my highly selective, personally taste-tested list of low-carb breads worth putting on your plate.

Top Low-Carb White Bread Picks

  1. Inked Winter Wolf Keto White BreadNet Carbs = 1g

While I’m not a diehard white bread fan, I do occasionally crave French toast or a classic PB&J. This sturdy, full-flavored white bread holds up like a champ. Toast it, butter it, stuff it—it doesn’t fall apart. It even makes excellent breadcrumbs if you dry it out. At $5.95 a loaf from Safeway, it’s reasonably priced for a specialty bread. If you order directly from Inked, or via Amazon or Walmart, factor in shipping. My tip: order several loaves at once to spread out the cost. (They freeze beautifully.)

  1. Nature’s Own Lite Soft White Bread – Net Carbs = 1g

Available at many grocery stores, this is my solid second pick. It’s soft, mild, and very close to regular white bread. Slightly less flavorful than Inked, but still a great option for toast or sandwiches. Prices may vary, but I’ve seen it at Walmart for just over $6 a loaf.

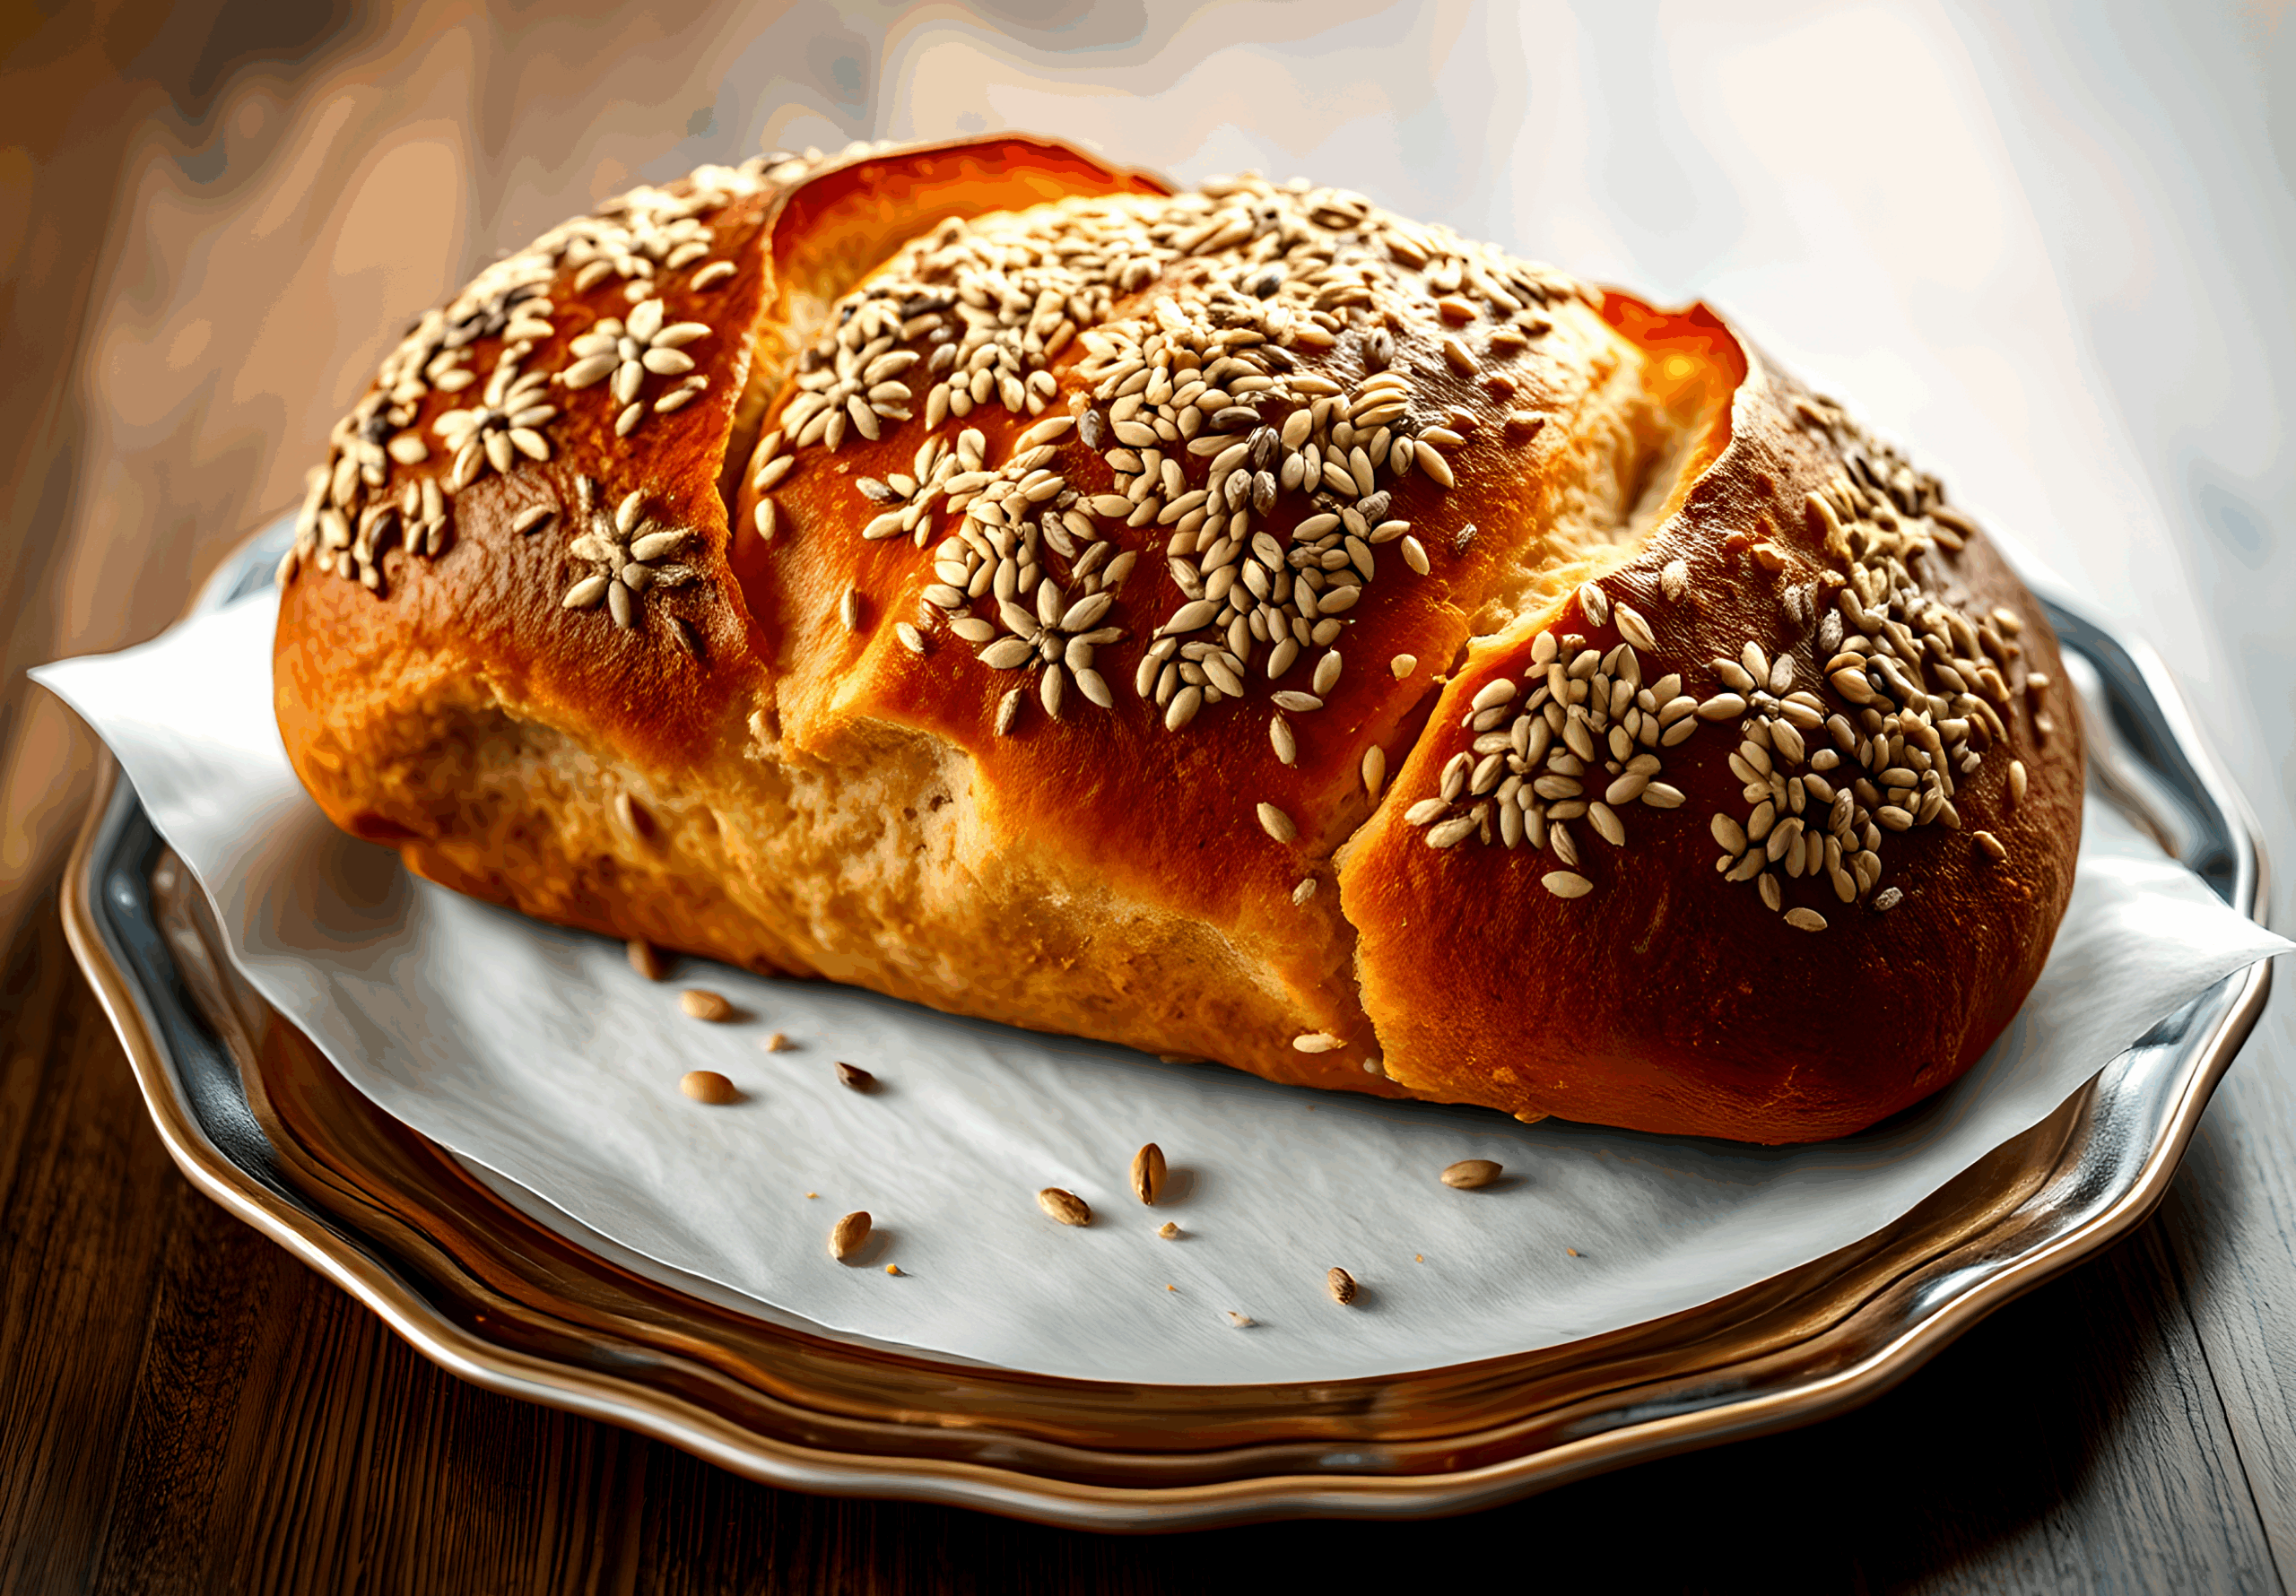
Top Low-Carb Seeded Bread Picks

Seeded breads are my absolute favorite. They’re hearty, flavorful, and mimic traditional wheat bread better than most.

  1. Inked Timber Wolf Keto Seeds BreadNet Carbs = 1g

This is one of my top two everyday breads. It has a rich, nutty flavor and toasts like a dream. It works for grilled cheese, burgers, or just slathered with butter and sugar-free jam. In my area, this San Francisco bakery’s loaves tend to sell out quickly, so when I see it, I grab it. It’s priced similarly to their white bread, so again—bundle and freeze.

Guacamole Avocado Toast with Bacon
Guacamole Avocado Toast with Bacon Strips. So easy and so good!
  1. Carbonaut Seeded BreadNet Carbs = 2g

It’s a tight race between Carbonaut and Timber Wolf. Carbonaut leans heavier and heartier, with even more seeds and slightly thicker slices. (Pro tip: it makes excellent avocado toast. Yum.) While it’s a tad higher in carbs, it’s worth it for the texture and taste. My supermarket carries it in the freezer section, though supply can be spotty. They also have a gluten-free version for those avoiding all wheat.

  1. Sola Deliciously Seeded Bread – Net Carbs = 1g

Sola makes great bread, no doubt. This seeded version is flavorful and firm, though it doesn’t rise quite as tall as my top two. The biggest drawback? Availability. My local Walmart carries Sola products, but the seeded bread is a rare find. If you spot it, grab it. Their oat bread is also excellent and more readily available.

Pick Your Bread (and Eat It Too)

So there you have it—my current top picks for white and seeded low-carb breads. The market is always changing, with new contenders popping up regularly, and the best brands keep improving their recipes. I’ll keep tasting (a tough job, I know) and post updates whenever a standout loaf rises to the occasion.

Next up: I’ll dive into the world of low-carb bagels, croissants, Hawaiian bread, and dinner rolls. Yes, you read that right—Hawaiian bread. Stay tuned.

If you’ve tried any of the breads on this list, I’d love to hear your thoughts. Got a favorite I didn’t mention? Drop me a comment—I’m always up for a taste test.

Bon appétit—and happy slicing!


Super Tasting Zucchini Fritters

Zucchini Fritters

Hello, fellow low-carb eaters!

It’s been a while since I shared a new recipe, and truth be told, I haven’t been cooking much these past few months. Between various projects, I haven’t had the time to try or create many new dishes—but I’m back!

First, a quick update: I’ve signed up for the Amazon Associates program, which means I’ll be including links to items that I use and personally recommend. Rest assured, I won’t share links to products I don’t use or wouldn’t recommend. If I review a product negatively, I won’t provide a link—only those I have tried and genuinely like will be included. If you make a purchase through my links, I’ll receive a small commission.

Now, to kick off my new season of recipes, I’m excited to share a delicious Zucchini Fritter!

We’ve grown accustomed to getting fresh zucchinis from Mexico during the winter, but availability may become more limited. Hopefully not, because I absolutely love them—they’re incredibly versatile! Living in the West, we’re lucky to see most of our fruits and vegetables come in from California.

Growing up in the Southwest, fritters were a staple. They’re simple: just a small amount of flour and egg to bind the shredded vegetable into a crispy patty. You might call them zucchini pancakes, but the real difference is that fritters are fried! One key step—removing as much liquid from the shredded zucchini as possible—ensures they hold together beautifully.

For this recipe, I used Dixie Carb Counters All-Purpose Flour, which has a slightly sweet taste but pairs nicely with zucchini. You can find it on DCC’s website or .

Zucchini fritters with a sausage patty sandwich using lettuce tomato, mayonnaise and a Hero burger bun.

Zucchini Fritters

Ingredients:

1 medium-sized zucchini
1 teaspoon dried onion flakes (optional)
¼ teaspoon salt
1 egg
1 teaspoon garlic herb seasoning
¼ cup low-carb flour
1/4 cup Bacon Pieces -2 slices- (optional)
Enough olive oil to cover the bottom of a small skillet (about ¼ inch deep)

Instructions:

  1. Using a box grater or food processor, shred the zucchini.
  2. Sprinkle salt over the shredded zucchini, then wrap it in doubled-up paper towels or a clean cotton cloth. Squeeze out as much liquid as possible—too much moisture makes it harder for the patties to stay intact.
  3. In a bowl, mix the zucchini with all remaining ingredients except the oil until well combined.
  4. Divide the mixture into four equal portions, shape each into a ball, and flatten into a patty about 3 inches wide.
  5. Heat the oil in a small skillet to about 350°F, or until a drop of water sizzles in the pan.
  6. Carefully place a fritter onto a spatula and slide it into the hot oil (avoid splashing!). Cook for 3–4 minutes, until the bottom is golden brown. Spoon a little hot oil over the top as it cooks to help it firm up.
  7. Flip the fritter and cook for about 3 more minutes. Once done, lift with a spatula, let excess oil drip off, and place on a paper towel to absorb any remaining oil.
  8. Repeat with the remaining fritters.

Serve with mayonnaise, salad dressing, or enjoy them plain!

Makes 4 fritters.

Nutrition Information (Per Fritter):

Calories: 94 | Fat: 1.5 g | Sodium: 368 mg | Carbohydrates: 4.5 g | Fiber: 2.1 g | Protein: 9.1 g | Sugar: 1.9 g | Net Carbs: 2.3 g

Advertising links: I get a small commission if you buy through the links below

I use Mrs. Dash Garlic and Herb Seasoning for a lot of foods. It spices up almost anything from meat to potatoes to your eggs. Since I don’t use much salt, it’s a great replacement.

Mrs. Dash Garlic and Herb

My favorite spatula
The Rachel Ray skinny spatula and it’s wonderful for picking up grilled sandwiches, burgers, or anything in oil. It is a nylon plastic item though, so you need to keep it away from your cooking heat source. I have burner several of them by leaving them too close to the burner. They come in several colors so you can match your kitchen or pans.

Rachel Ray Spatulas

Note: Nutrition information is based on the ingredients I used in this recipe and my measurements. Although they are a close calculation, your results may be slightly higher or lower. Ingredient substitutions may affect the carb count. Different brands may have other carb counts.

Happy Holidays 2023!

Wow! Here we are at Christmas 2023! Where did the time go? For me, it seems like I was busy from the end of October all the way to now. While I did some cooking, not much of it was anything new to post on this page! Sorry for my absence in that regard.

I was working diligently on my new Low Carb Asian cookbook and working on getting the recipes right. I am still struggling with a low carb eggroll, but I have a couple of things yet to try to get it like the real deal. Hoping to get that out about mid-March.

As I mentioned previously, I have obtained a DASH mini-Bundt cake maker and it is really great to use. I made lovely Chocolate Kalua Cakes for my dinner group of friends and Chocolate Hazelnut cakes for the lunch group. None of these were low-carb, but of course, I have a low carb version. These are pretty much the same recipe, simply changing the alcohol or syrup used. You can get sugar-free coffee syrup, which is close to Kahlua and you can also get sugar-free hazelnut syrup. If you want the almond taste, then you can use sugar-free Amaretto. Guess what? You can also make it more festive by using sugar-free Peppermint for a Chocolate Peppermint cake!

You can bake these in mini-Bundt pans in the oven if you don’t have an electric mini-Bundt maker.

Chocolate Kahlua Mini-Bundt Cake

For the cake:
3/4 cup Sugar Substitute
1 cups low carb All-purpose Flour
1/2 cup Almond Flour or other low carb alternate
1/3 cup Cocoa Powder
3/4 teaspoon Baking Powder
3/4 teaspoon Baking Soda
1/4 teaspoon salt
1 Egg, room temperature
1/2 cup Unsweetened Almond Milk
1/4 plus 1 tablespoon Vegetable Oil
1 teaspoons Vanilla Extract
1/4 cup drip (or espresso) coffee
1/3 cup Kahlua or other coffee liqueur or syrup

For the glaze:
3/4 cup (160g) Confectioner’s Sugar Substitute
1 or 2 tablespoons Kahlua or other coffee syrup

INSTRUCTIONS
To make the cakes:
If you’re using mini-molds in an oven, preheat oven to 350 degrees F. If you’re using an electric cake maker, plug in to preheat.

Butter and flour your molds for the oven.

In a small bowl, add sugar, flour, cocoa, baking powder, baking soda, and salt and whisk to combine. Set aside.

In a large bowl, add egg, almond milk, vanilla, and oil and beat for about a minute.

Add dry ingredients to the wet ones in three batches. Beat on low speed so the flour doesn’t go flying. Mix each addition completely before adding the next.

Heat coffee until almost boiling. Mix with Kahlua and slowly add to batter while mixing.

For the electric Bundt baker, spray with cooking spray. Add enough batter to come just below the top of the electric cooker. Close the lid and cook about 4 minutes. Check with a toothpick to see if the cake is done. The cook time may vary depending on the thickness of your batter.

When the cake is done, remove to a parchment or foil covered pan, let cool a few minutes, then invert to remove from the bottom plate. If it doesn’t come off easily, run a thin knife (or a plastic knife) between the plate and the cake to release it. Let cake cool complete before turning it over.

Repeat until you’ve used all the batter. It should make about five cakes.

For the oven:
Pour into molds to about 3/4ths of the capacity. Use a measuring cup to pour the batter. Put molds on a large baking sheet and bake about 25 minutes. Use a toothpick inserted in center to test doneness. It will come out clean when cake is done.

Cool in the pans on a wire rack for about 15 minutes. invert the pan to release the cakes. If they don’t come out easily, use a thin knife or a plastic knife to slide around the edges gently and around the center post. Tap the bottom after you invert it and try again. If the cake still does not release, let it cool another 15 minutes. If it still won’t release, slide the knife down the side and gently pry under the cake.

To make the glaze:
In a small bowl mix a confectioner’s sugar with 1 tablespoon or more of coffee liqueur. Less liquer or syrup will give a thicker glaze. Spoon glaze over the cooled cakes and let it drip down the sides.

For a Hazelnut or Peppermint Cake, replace the Kahlua with hazelnut or peppermint syrup or liqueur. (Omit the coffee for these cakes. The batter will be thicker and the cooking time may be a little shorter.)

Tips: Alternate flours you can use are almond flour, hazelnut flour (for the hazelnut one), coconut flour (use 1/2 the recipe amount and add an egg), Oat Flour (the low carb one) Carb Counters All Purpose Flour and Carbolose. If you use Carbquik, your cake may be more like a biscuit. It already has some oil and baking powder in it.

These recipes make five or six mini Bundt cakes. Nutrition information is based on five cakes and using sugar-free syrup. I used Ghirardelli’s Dark Cocoa Powder, DCC Carb Counters, and Blue Diamond Almond flour.

Nutrition Information Per Cake:
Calories 256 , Total Fat 17g , Cholesterol 77mg, Sodium 620 mg, Potassium 145mg, Carbohydrates 14 g, Fiber 9.4 g, Sugars 1.7 g, Protein 19 g, Net Carbs 4.6 g

If you use Kahlua, it adds 65 carbs for 1/4 cup, so roughly 11 carbs per cake. I usually eat half a Bundt cake for a serving.

Christmas Dessert

For my Christmas dessert this year, I am making a Cranberry Apple Crumble. It’s a wonderful combination and I’ve made it before. I will post the recipe next week, so maybe you can make it for New Year’s!

Merry Christmas to all who celebrate and to those who don’t, have a wonderful week! You can eat cake for any occasion!

Note: Nutrition information is based on the ingredients I used in this recipe and my measurements. Although they are a close calculation, your results may be slightly higher or lower. Ingredient substitutions may affect the carb count. Different brands may have other carb counts.

Cool off with Keto Key Lime Cheesecake Pie

Keto Key Lime Cheesecake Pie

Hi, everyone…

How is summer going for you? Too hot?? July was the hot month here in Northern Nevada, but August has been a little cooler. Still, a nice cool dessert recipe is always refreshing. This is a recipe I adapted from Sola Bread for their Keylime Cheesecake Bars. I didn’t use their Keto Granola but substituted an almond flour sugar cookie bottom crust. It’s easy to make and goes well with the cheesecake pie.

I admit, I never seem to get much flavor from any fruit zest, but chefs swear it carries more flavor than the juice. So I put it in. Add a teaspoon more lime juice if you don’t want to use it.

In other news, I am working on a new Asian Cookbook with recipes from China, India, and Thailand. I have a couple of Korean and Japanese recipes in there, also. I plan to have this released by the end of November, but it takes time to make and photograph all the recipes in the book, so fingers crossed I hit that deadline.

Keto Key Lime Cheesecake Pie

Recipe adapted from Sola Bread recipe
by Rene Averett

Crust
1 cup Almond Flour
2 tablespoons granulated Sugar Substitute
2 Tablespoons melted butter

Filling
4 Tbsp Hot water
1 Tbsp gelatin (1 packet)
16 oz cream cheese, softened
4 oz heavy cream
1/3 c sugar-free sweetener
3 Tbsp key lime juice
1 tsp lime zest

Garnish
Whipped topping
lime zest

Preheat oven to 350 degrees (F.) Spray an 8″ pie plate with baking spray.

In a bowl, mix almond flour with melted butter and 2 tablespoons granulated sugar substitute until it begins to pull together. Pour into pie pan and use fingers to press the crust into place on the bottom. Bake for about 10 minutes until the edges are lightly browned.

Add gelatin and hot water to a bowl, stir once and let sit for five minutes. Stir until the gelatin dissolves. If any chunks remain, remove them.

Add the cream cheese to a large bowl and blend until smooth. Add gelatin, cream, sugar substitute (you may use liquid sweetener if you like), lime juice, and zest. Mix until combined. Scrape down the sides as you go. Add one drop of blue and two drops of yellow food coloring to make a pale green mixture if you wish.

Pour the cheesecake mixture into the prepared pie pan and use a spatula to smooth it around evenly. Cover loosely with plastic wrap and refrigerate for 3 to 4 hours to allow it to set.

Cut into 8 slices and serve with whipped topping. Garnish with a little lime zest if you like.

Makes 8 servings.

nutrition information

Note: Nutrition information is based on the ingredients I used in this recipe and my measurements. They are a close calculation and may be slightly higher or lower. Ingredient substitutions may affect the carb count. Different brands may have other carb counts.

Finding Your Carb Threshold

Often, when I talk to people about a low carb lifestyle, I mention that I have a very low carb threshold.

Most folks don’t understand what I mean when I say it. The simplest way to explain is that the number of net carbs (carbohydrates minus fiber and any sugar alcohols) is 23. When you are dieting on Atkins, your target for the initial phase is 20 net carbs. After that, you can begin adding a few carbs a week until you hit your threshold. While some people who have efficient fat burners (metabolism) can eat 30, 40, or more net carbs, I quickly learned that I can’t exceed 23 before I gain weight.

Your next question might be, “how do I find out what my threshold is?” This is explained in the Atkins diet, and if you follow the process, you will learn two things. First, you will determine what your threshold is. Second, you will begin to learn which foods your body does not utilize well.

You may think that all calories are the same, no matter what the source. One friend who believes weight loss is all about the calories attempted to argue it with me saying that it the only the amount of calories count. But from my experience, I can say that some foods provide better fuel for your particular body than others. While calories aren’t irrelevant, I can say that if I eat 900 calories a day, I will lose weight and I will be hungry all the time. With a low carb diet, I can eat way more calories, always find a low carb snack, and still lose weight. The key to it is eating what your body uses for energy.

When you begin the steps to learn what foods you can eat without gaining weight, you also find out how many net carbs you can eat. It is a trial and error process.

First, if you’ve been on the induction phase of Atkins, your food choices have been limited to ones that are primarily low carb vegetables, fat, meat, and white cheese. The second phase adds in the next food groups and vegetables with a slightly higher carb count. The recommended way to do it is to add them one food at a time and weigh the next day to see if there is an increase in your weight. Sometimes, a weight fluctuation is normal. However, you can continue to eat that same food a few times throughout the week. If you haven’t gained any weight at the weekly weigh-in, then the food is probably not a problem. If you’ve lost, it isn’t affecting your weight loss. If you’ve gained, then it is probable that your body isn’t using the item well. Take it back out of your diet and try another.

You repeat this process with all the foods you add to your choices, keeping the ones that have no effect on your weight loss and bypassing the ones that either stall it or add to your weight. Once you establish this, then you begin to add more net carbs to the amount you eat daily.

As I said, at the beginning you have 20 net carbs. So add 5 net carbs to your total and track your weight with the added carbs. If you stall or gain, then drop back a carb for a few days and weigh again. If you are stable at the added carb number for a couple of weeks, then you have reached your threshold. This would be the number of carbs you can eat each day to maintain your weight. To begin losing weight again, you need to go below the threshold number.

So, for me, finding the threshold weight came within the first week of adding carbs. With only an additional 3 net carbs added to the initial 20, I still pretty much maintain that same eating plan as I initially used. For many people, the net carbs are more plentiful. More activity and exercise might increase your threshold number allowing you more choices and larger portions in your food intake.

This is probably the most significant thing I learned with this pass on the Atkins diet plan. These two steps gave me the key to controlling my weight – not that I always follow it, but it is what I constantly target for my guidelines. I know that if I eat over 23 net carbs, then I will gain weight. I know if I eat less than 23 net carbs, I will lose weight. I also know that if I have gained more than 10 pounds, I will probably have to cut back to the phase one food choices to effectively get my body back to the weight loss mode again.

Overall, the low carb eating plan is not difficult to follow, but it is challenging. If you stay at home and prepare all your food, there are many options to remain low carb and still enjoy a variety of food. The difficulties come with dining out, going to parties, and grabbing quick food on the run. If it were easy to do this, none of us would regain any weight we lost, but it is not that simple. Unless you make the food knowing everything that goes into it or you order food that doesn’t have sauces or additional carbohydrates added, then you aren’t in control of what you eat when you’re out.

I love food, so I have been working to adapt my favorites to a low carb option. That’s why I have created my blog and my cookbooks. My recipes are almost all under 10 net carbs per serving, and most are less than that. I have been up to 330 pounds, and I don’t ever want to go back to that weight again. I won’t pretend that it’s easy to keep on track. It takes work, planning, and commitment. But it’s also not the most difficult thing either.

So if you want to be successful in your weight loss efforts and at maintaining your weight, learn your net carb threshold and be aware of how many carbs you are eating at each meal. It will be worth it.