

I found this great-tasting recipe on the Ketonia Bread website and had to try it. I adapted it a little and put it on my low carb yeast roll. If you want easier options for bread rolls, check out the notes at the bottom. You can order Ketonia bread mix from Amazon.
Hot White Alabama Chicken Sandwich
Recipe adapted slightly from Ketonia.com
1 large Chicken Breast
2/3 cup Mayonnaise
3 tablespoons White Vinegar
1/2 teaspoon Lemon Juice
2/3 teaspoon Pepper
2/3 teaspoon Salt
1/4 teaspoon Cayenne Pepper
1/2 teaspoon Horseradish (optional)
2 large Tomato slices
2 to 4 leaves of lettuce
2 Low Carb Bread Rolls or Buns (see options below)
In a large bowl add mayonnaise, vinegar, lemon juice, pepper, salt, and cayenne. Stir until well-mixed. divide half and put in a small bowl to use for dipping.
Cut the chicken breast in half and pound with a meat tenderizer on both sides. Add the two half breasts to the large bowl of white sauce and stir to coat completely. Cover with plastic wrap and marinate for 1 hour.
Heat 1 tablespoon of oil in skillet. use a fork to lift each chicken piece and allow the excess marinade to drip off. Place chicken breasts in the skillet and cook for 5 to 7 minutes until browned. Use a fork or spatula to turn to the other side and cook until browned. Internal temperature should be 165 degrees or higher.
To Assemble
Cut rolls in half and spread the reserved sauce on the each side. Place a chicken piece on the bottom and top with a slice of tomato and lettuce. Dip into the white sauce as needed while you eat. Delicious. Serves two.
The carbs for your bread roll will depend on which one you choose to use. The options below run from 0 carbs to about 3 net carbs. You can also make this a tortilla wrap.

Bread Roll Options
In addition to making to Ketonia Bread Rolls, you can use a few other easy options.

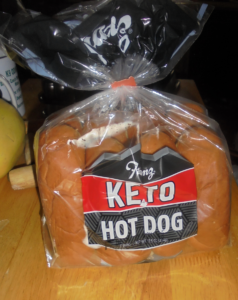
Franz White Bread and Hamburger Rolls.


 First up, I ordered the


